
Water is undoubtedly the most important part of our lives and is something one cannot do without. While clean water is great for health, contaminated water poses a potential threat to the health of the people using the water. Over time, water storage tanks will acquire algae, sediments, limescale, rust, and other contaminants which provide a perfect breeding ground for dangerous bacteria such as E.Coli & Legionella. As part of the requirements of the Safety, Health and Welfare at Work Act 2005 (S.I. No. 10 of 2005), measures are required by law to manage the risk of Legionella exposure for employees and others present at the workplace. Failure to comply with the legislation could invite legal action, damage business reputation, and people requiring hospitalization. That is why it is critical to periodically inspect and clean cold storage tanks as part of the water hygiene programme.
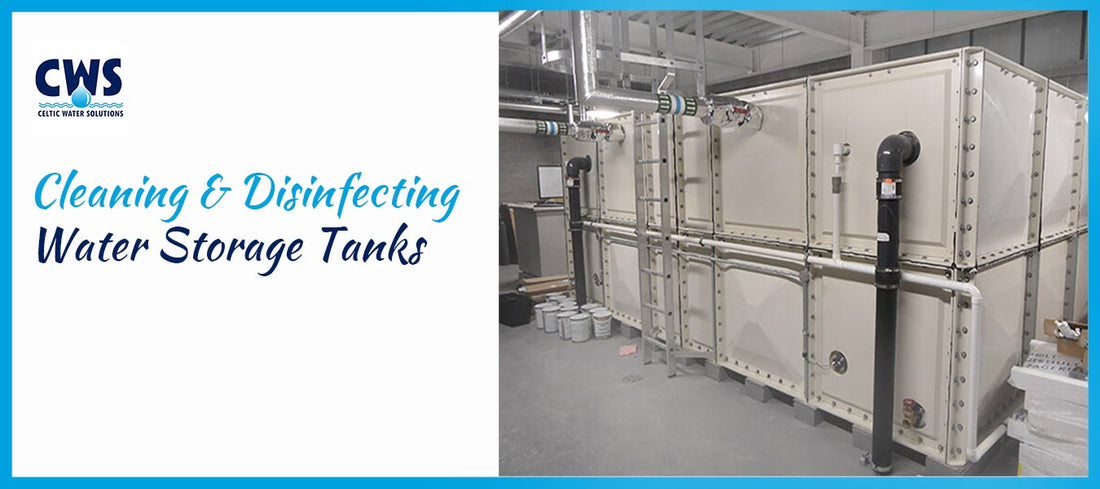
Water Tank Cleaning Procedure
Step 1 – Inspection & Preparation
- Water tank cleaning is to be completed by a trained and certified technician with proper gear.
- Check the risk assessment before starting any work to understand the risks, assets and how to mitigate any risk.
- Check for leaks and ensure that all pipework is braced suitably.
- Inform all building users about the commencement of tank cleaning works. This can be done through the use of signs to avoid water usage during the cleaning process.
- All internal supports should get checked for corrosion. If there is a condensation tray with the tank, ensure that it has an overflow fitted and that it is not damaged.
- Take photographic evidence of the condition of the water tank before starting the cleaning work.
- Electrically isolate any system booster, and/or circulating pumps according to the manufacturer’s guidelines.
- Isolate tank by closing inlet and outlet valve.
Step 2 – Drain the Tank
Before draining the tank, double-check if the inlet valve is closed.- Drain the tank using a submersible pump. In the case of rooftop tanks, ensure that the drain is of adequate size and not prone to leaks within the building.
- Take pictures of the empty tank for the Log Book.
- If tank entry is required, then two technicians must be present and confined space safety rules, regulations and procedures must be followed.
Step 3 – Clean & Disinfect the Tank
Manually clean the internal surface of the tank using a scrubbing brush or similar abrasive tool. Any signs of damage, corrosion, scale, flaking, black spotting, and deficiencies (e.g. missing rodent screens, cross-flow vents etc) should be noted.- Scrape the internal surfaces of the tank and remove dirt, sediments, and debris.
- Vacuum clean the floors and walls with a wet vacuum.
- Use a descaler to remove limescale buildup, if present.
- Thoroughly clean the corners and pay attention to areas where there are joints or rivets.
- Note pH of mains water. The concentration of free chlorine is affected by pH. Do not use in systems with a pH greater than 8.5.
- To start the chlorination process, refill the tank to halfway mark and add Sodium Hypochlorite solution.
- Use a chlorine testing kit to verify if the required free residual chlorine concentration (50ppm or 50 mg/L) is achieved. Allow the water in the tank to sit for an hour.
- In the case of large water tanks, using a submersible pump might be necessary to achieve a homogeneous disinfection solution within the tank. If the free chlorine concentration is inadequate, then a further addition of Sodium Hypochlorite solution may be required.
- Once the required level of chlorine is achieved and maintained, the outlet of the tank may be opened to allow chlorinated water to flow around the system.
- Open tank outlet valves and reinstate electrical supply to any booster pumps. It is critical to re-activate secondary hot water pumps, as failure to do so may mean that chlorinated water does not enter the return circuit.
- Outlets farthest from the tank should be opened first and water is drawn off until free chlorine is detected.
- Working progressively back towards the tank, open each outlet in turn and check if it’s chlorinated.
- When chlorinated water has been drawn through to all outlets, establish that the correct free chlorine reserve has been attained at each outlet and in the tank. It is often necessary to make a further addition of Sodium Hypochlorite to the tank, owing to the dilution effect caused when water is drawn through to the outlets.
- Record free chlorine levels on the job sheet and monitor the outlets every 15 minutes. Should free chlorine levels fall below the minimum level, the process will have to be repeated with an increased contact time.
Step 4 – Recommission & Refill the Tank
- After the pre-determined contact time (kill time) has elapsed, the free chlorine levels must be neutralized using Sodium Thiosulphate (non-hazardous) if the disinfection is >5ppm.
- The entire system should be flushed until the free chlorine in the water emerging from each outlet is equal to that of the incoming main.
- Also, measure the concentration of free chlorine remaining in the tank. It should be between 0.5 and 0.1PPM.
- Refill the tank and reinstate the booster/circulating pumps as per the manufacturer’s instructions.
- Record the disinfection levels in the Log Book.
- You should also complete a disinfection label for each tank, adding details to the old sticker or placing it over the previous one.
Frequency for Cleaning Cold Storage Tanks
How often the tanks need to be inspected and cleaned depends on whether stored water is going to be used for potable or non-potable purposes. Potable cold water storage tanks need to be cleaned more regularly because they feed drinking water outlets. Celtic Water Solutions recommends that water tanks should be inspected at least once a year, or more often if contamination is found.- The temperature of the tank from the inlet and outlet should be inspected at least annually.
- Inspection for signs of possible contamination and debris should be carried out every 6 months for potable water and every 12 months for non-potable water.
- Microbiological samples should be taken every 6 months for potable water, and only as required by a control scheme for non-potable water.